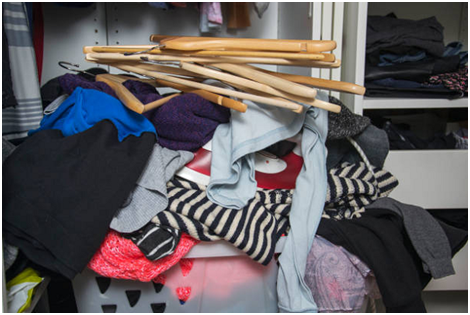
Spring cleaning is a great way to refresh your home and start the new season feeling organized and energized. One of the most important areas to focus on during spring cleaning is your closet. Not only will a clean and tidy closet make getting dressed in the morning a breeze, but it will also help you to see what items you have, what it’s time to get rid of, and what you may need to purchase for the upcoming season.
The best way to tackle the task is to do it step by step and we’re here to make the process super simple and painless.
Step 1: Clear everything out

Take everything out of your closet and lay it on your bed or floor. This will give you a clear picture of what you have and what needs to be removed. As you take each item out, ask yourself if you have worn it in the past year, if it’s in good shape, and if it still fits and flatters your body. If the answer is no, it’s time to let it go whether that be in the trash or donated.
Step 2: Sort and organize
Now that everything is out, the next step is to sort and organize your clothes. Begin by grouping items into categories such as tops, bottoms, dresses, and outerwear. Then, take it a step further by organizing each category by color or type, for example, grouping all black tops or shorts together. Don’t forget to extend the same level of organization to your sleepwear, sorting them by type including shorts, pants, nightshirts, and sets. It’s also a great idea to separate your winter flannel pajamas from your lighter, cooler options to make them easier to find when the seasons change. By taking the time to properly sort and organize your clothes, you’ll create a super functional space.

Step 3: Purge
After you’ve sorted and organized your clothes, it’s time to purge. This can be a hard step if you have sentimental attachment to items but the bottom line is if it no longer fits or flatters you, is out of style, or you just don’t wear it, let it go. Be honest with yourself and don’t hang onto anything that is just going to continue taking up space.

Step 4: Re-hang, re-fold and rotate
Now it’s time to reorganize as well as rotate your clothes for the season, and that means it’s important to properly re-hang and re-fold before putting everything away. Use proper hangers that won’t damage the fabric or distort the shape of the garment and fold in a way that prevents too many wrinkles and creases from forming. If you have limited closet space, investing in storage solutions such as a hanging organizer or shelf dividers can help maximize your storage space.
Step 5: Say Goodbye

Lastly, don’t let your donated items become a permanent fixture in your home – take them to the donation center right away! Remember, out of sight, out of mind (and out of the closet)! If you wait too long to donate, you might end up digging through the bags (been there, done that) and having a change of heart about those old bell-bottoms.
Step 6: Reward yourself with New Spring Pajamas!

Happy Cleaning!


